Creating a circle in Minecraft is one of the first building challenges many players encounter. Minecraft worlds are built from square blocks, so making a shape that looks smooth and round requires planning. A circle that is only a few blocks wide can be built by eye, but larger designs quickly become difficult because small mistakes create uneven curves.
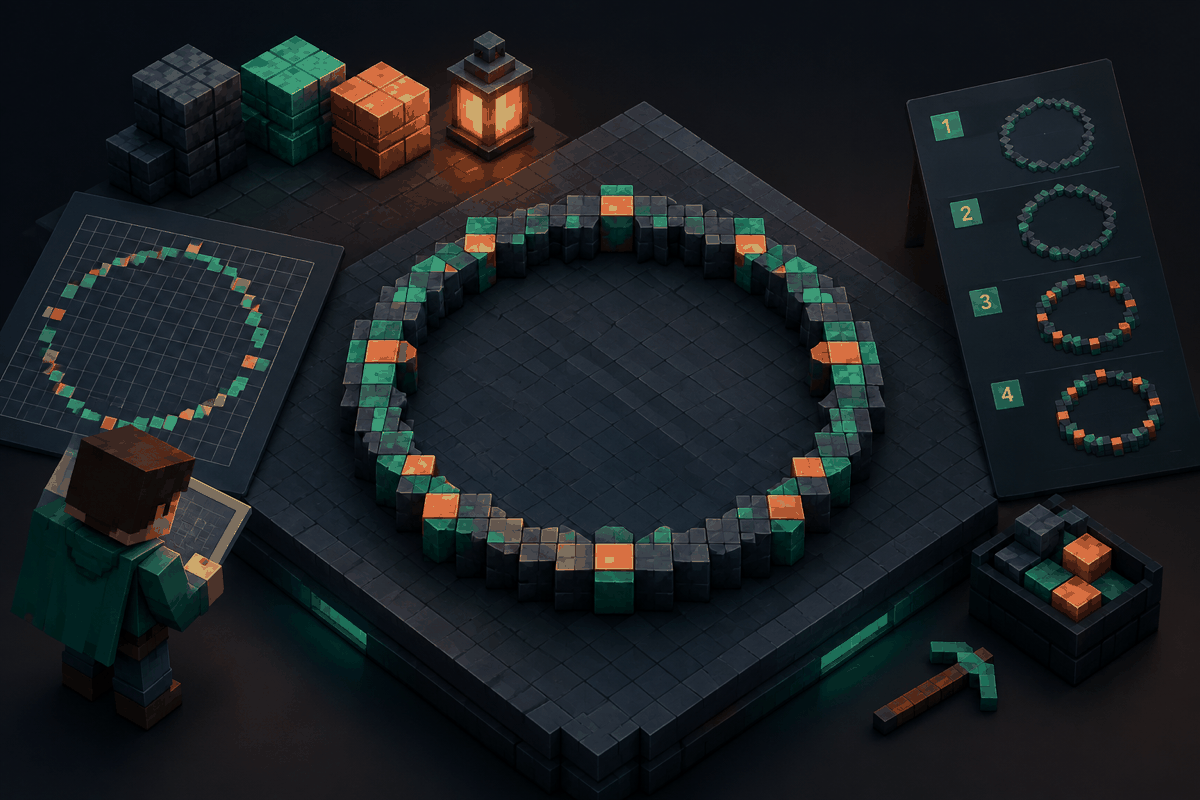
A well-planned Minecraft circle can become the foundation for towers, arenas, fountains, gardens, domes, bases, pixel art, and decorative structures. The key is understanding how block placement creates the illusion of a curved edge. With a simple pattern, a circle chart, and the right planning tools, you can build accurate shapes without repeatedly breaking and replacing blocks.
This guide explains how to build a Minecraft circle step by step, how to choose the right size, how to avoid common mistakes, and how tools such as a Minecraft circle chart can make the process faster.
Why Minecraft circles are difficult
In real-world construction, circles are created with continuous curves. Minecraft does not work that way. Every block occupies a square space, meaning every curve must be represented by a staircase-like pattern of blocks.
A small circle may look simple because the eye fills in the missing curve. For example, a circle that is 5 or 7 blocks wide may only need a few changes in direction. However, a 50-block-wide circle requires a carefully planned sequence of block placements. If one section is wider or narrower than another, the entire shape can appear uneven.
The difficulty increases when you build larger structures because symmetry becomes more important. A tower base, arena wall, or dome needs matching sides so the finished build feels balanced.
Choose the right Minecraft circle size
Before placing blocks, decide what the circle will be used for. The diameter of the circle determines both the appearance and the building process.
Small circles
Small circles are useful for decorative details such as:
- Fountain centers
- Tree platforms
- Small towers
- Window designs
- Pixel art details
These can often be created manually because the pattern is short and easy to repeat.
Medium circles
Medium circles are common for survival bases and creative builds. They work well as:
- House foundations
- Storage rooms
- Wizard towers
- Gardens
- Meeting areas
For medium sizes, using a planned pattern is recommended because a single misplaced block can make one side noticeably different.
Large circles
Large circles are often used for major builds such as arenas, castles, cities, or decorative landscapes. These designs benefit from a generated layout because measuring every section manually can take a long time.
The Minecraft circle generator on MinecraftCircle can help you create a planned block arrangement before you start building.
Method 1: Build a Minecraft circle by using a grid
One reliable method is to create a grid and mark the positions where blocks should be placed.
Step 1: Decide the center point
Every circle starts from a center point. Place a temporary marker block where the middle of your circle will be. This helps you measure outward evenly in every direction.
For a symmetrical circle, the distance from the center to each edge should be the same. If you are building a circular room, this center point also helps you place doors, furniture, and decorations later.
Step 2: Measure the radius
The radius is half of the circle's total width. For example, a circle that is 20 blocks wide has a radius of 10 blocks.
Mark the radius in the four main directions:
- North
- South
- East
- West
These points create the basic framework of the circle.
Step 3: Create the curved sections
The corners between the four main points are where most mistakes happen. Instead of making a straight diagonal line, use a repeated step pattern.
For example, a section may move:
- Three blocks forward
- One block sideways
- Three blocks forward
- One block sideways
The exact pattern changes depending on the circle size. Larger circles need more gradual changes, while smaller circles need sharper steps.
Method 2: Use a Minecraft circle chart
A Minecraft circle chart is a visual guide showing exactly where blocks should be placed. Instead of estimating the curve, you follow a prepared pattern.
Circle charts are especially useful because Minecraft circles are based on pixel-style geometry. The chart converts a mathematical circle into a block-friendly design.
A circle chart helps with:
- Symmetry
- Large builds
- Faster planning
- Rebuilding designs in different locations
- Sharing patterns with other builders
The circle chart tool can be used when you need a clear layout before construction begins.
Practical example: building a circular tower base
Imagine you want to build a round stone tower with a 31-block diameter.
First, choose the center location and mark it. Next, measure 15 blocks outward in each direction because the radius is approximately half the diameter. After that, create the four curved sections using a planned pattern.
Once the outline is complete, fill the interior with your chosen floor material. Stone, deepslate, wood, and decorative blocks can all create different styles.
For a stronger design, consider adding layers:
- Outer wall ring
- Inner walkway
- Central room
- Decorative support columns
A circle is not only a shape; it is a framework that can organize an entire build.
Common mistakes when building Minecraft circles
Making diagonal lines instead of curves
A common beginner mistake is connecting two points with a simple diagonal staircase. While this creates a rounded impression, it usually produces a shape that is too narrow in some areas and too wide in others.
A true circle requires a balanced pattern across all four sides.
Forgetting symmetry
Building one quarter of a circle and copying it incorrectly can create uneven results. Always compare each section with the opposite side.
Choosing the wrong size
A circle that is too small may not leave enough room for the intended structure. A circle that is too large may become difficult to detail.
Plan the purpose before selecting the diameter.
Building without a guide for complex shapes
Simple circles can be made manually, but large projects benefit from preparation. A guide saves time because you spend less effort correcting mistakes.
Turning circles into advanced Minecraft builds
Once you understand circles, you can use them as the foundation for more complex structures.
Combining circles and spheres
A circle is a two-dimensional outline. A sphere extends that idea into three dimensions. Circular layers can be stacked to create rounded buildings, planets, statues, and fantasy structures.
For larger projects, the Minecraft sphere generator can help you plan curved three-dimensional shapes.
Building domes
Domes are another common use of circular layouts. They can be used for observatories, temples, gardens, and futuristic bases.
A dome is created by gradually changing the size of each circular layer as the structure rises. The Minecraft dome generator can provide a starting layout for these designs.
Creating decorative pixel designs
Circular patterns are also useful in pixel art. A planned grid makes it easier to create recognizable shapes while keeping proportions consistent.
Tips for better Minecraft circle designs
Use temporary blocks while planning. Dirt, wool, or other easy-to-remove materials work well for marking outlines before replacing them with final materials.
Build from the outside edge first when accuracy matters. The outline determines the final appearance, while the inside can be adjusted later.
Test your design at different distances. A circle may look correct from above but appear uneven when viewed from the player perspective.
Consider lighting and materials early. A simple circle can become an impressive structure when combined with thoughtful block choices and decoration.
Frequently asked questions
What is the easiest way to build a Minecraft circle?
The easiest method is to use a circle chart or generator that provides a block placement pattern. Small circles can be built manually, but larger circles are much easier with a visual guide.
How do I make a perfect circle in Minecraft?
A perfect mathematical circle cannot be made with continuous curves because Minecraft uses blocks. The closest result comes from using a carefully designed block pattern that creates a balanced pixel-style circle.
What is the best size for a Minecraft circle?
The best size depends on your project. Small circles work for details, medium circles work for buildings, and large circles work for major structures such as arenas or city designs.
Can I use a Minecraft circle for a dome?
Yes. A circle can serve as the base layer for a dome. By stacking smaller or larger circular layers, you can create curved roofs and rounded structures.
Are Minecraft circle generators useful for survival builds?
Yes. A generator can save planning time, especially when building large farms, towers, storage rooms, or decorative structures where symmetry matters.
Start building your Minecraft circle
A good circle begins with accurate planning. Whether you are making a small decoration or a massive creative project, understanding block patterns helps you build cleaner and more impressive structures.
Use the MinecraftCircle Minecraft circle generator to plan your next circular build, or explore other building helpers such as the pixel art generator and house design ideas for more inspiration.